|
Bringing a Fender Squire Bullet back to life, part two
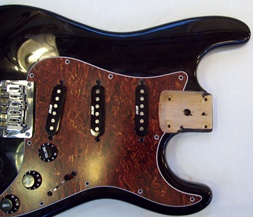
Backing up a little, though the Squire Bullet is a fender, it's important to fit the pickguard before the neck goes on. I've found that pickguards, for that matter all after market parts, are not created the the same. This mighty mite pickguard was smaller than the original, about half the holes didn't line up, and the bridge pocket was too small. I don't necessarily blame Mighty Mite, it could be this guitar body. Just beware, things may look identical, but often they're not. Thank god for the dremel tool. 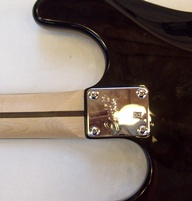
With the pickgaurd made to fit, copper neck shims in place, it was time to fit the neck. Luckily the holes I already had in this neck lined up with the new body holes perfectly. If you're using a pre-drilled neck, and the holes don't line up, you can resort to filling, and re drilling, as I described in the first section. When installing the neck for the first time tighten the screws up snug, but not too tight. More often than not, it's necessary to loosen up the neck screws to tweak the neck, once the strings are on. Once the neck is aligned the screws can be torqued down. As a footnote, tighten the screws in a cross hatched pattern, so that all screws end up snugging up at the same time. 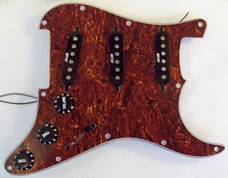
With the neck in place, it's time to wire up the pickguard to the squire bullet. I've got to be honest, I don't expect much from this unit. Buying a complete pickguard, pre-wired with three pots, a five way switch, and three pickups for $42.00 is a deal if it just works, never mind sounds good. I guess I'll find out, and so will you. This pickguard came with a shielded cable for the lead to the output jack. 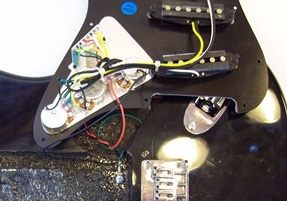
Unfortunately it was too short, so I used some 22 gauge, red and black, stranded wire I had. The pickguard came with a ground wire for the bridge, as well as a ground wire for the body. Note the picture to the right, I already had a ground wire to the bridge. If you're starting from scratch you must ground the bridge, either through the tremolo claw, or a wire up underneath the bridge like on this fixed bridge setup. 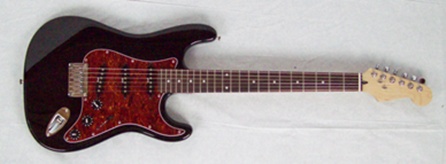
With the wiring done I installed the pickguard. I drove the screws that matched up with the holes first, then drilled new holes for the rest, and installed those. If you've read any of my previous stuff, you've probably noticed that I did not shield the body cavity, or the back of the pickgaurd. I did this on purpose to see how the pickups sounded bone stock. Later on I'll do the shielding, correct a few ground loops, and make the comparison. Once the strings are on, and this goes for any new setup, make sure the low and high E strings run up the neck, with equal reveal on either side. If the reveal is uneven, the neck must be tweaked, by loosening the screws as described above. 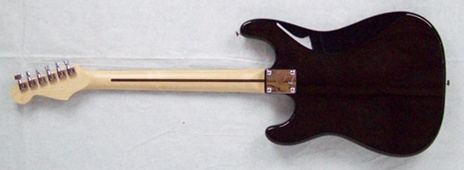
Well there it is, from pile of parts, to complete squire bullet guitar mongrel. I don't know how it's going to sound, I'm usually an optimist, but I'm guessing horrible. If you stumbled on this page by accident, and haven't seen part one, Bringing a Fender Squire Bullet back to Life, follow this link If you've built a guitar, and need help setting it up, go to Electric Guitar Setup
Return from Bringing a Fender Squire Bullet back to Life, part two to Electric Guitar Info home |


